


Sending a gift? Send a virtual note with it!
You can send an email, a text, or both. Just enter your message and select when to send it!


You will receive:
Ingredients Organic Unbleached Wheat Flour, Caster Sugar, Icing Sugar (sugar, tapioca starch), Ground Almonds, Callebaut Dark Chocolate Callets (9%) (cocoa mass, sugar, cocoa powder, soy lecithin), Freeze Dried Coffee Supreme Coffee (3%), Cocoa Nibs (2%), Baking Powder (sodium bicarbonate, sodium acid pyrophosphate, corn starch), Salt.
Allergens This cake is suitable for vegans, just use your favorite dairy free butter / oil and milk! This cake contains tree nuts (ground almonds) and wheat and is not suitable for those with nut or gluten allergies or intolerances.
NOTE: this cake has a very high amount of caffeine so it’s not recommended for kids/pregnant people… or for eating right before bed if caffeine affects your sleep!
Shelf life You’ll find the best before date of your kit located on the tamper sticker sealing the base of the silver box.
Nutritional Information

Storage Information Store somewhere cool and dark like a pantry. If your house is super hot in summer then it is possible the heat will have some effects on our products - the worst that could happen is things like chocolate might melt or the matcha might become a bit discolored, which doesn’t affect the taste of the cake. This is unavoidable with high quality ingredients and no preservatives added. If you are worried, you can store the kits in the fridge, or you could just bake your cake ASAP after receiving it.
Dimensions The cake kit boxes are 15cm (width) x 18cm (height) x 6.5cm (depth)
Fresh ingredients you will need
For the cake:
For the icing:
Directions
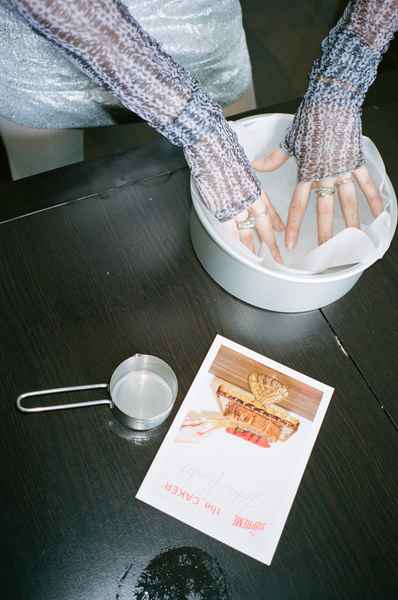
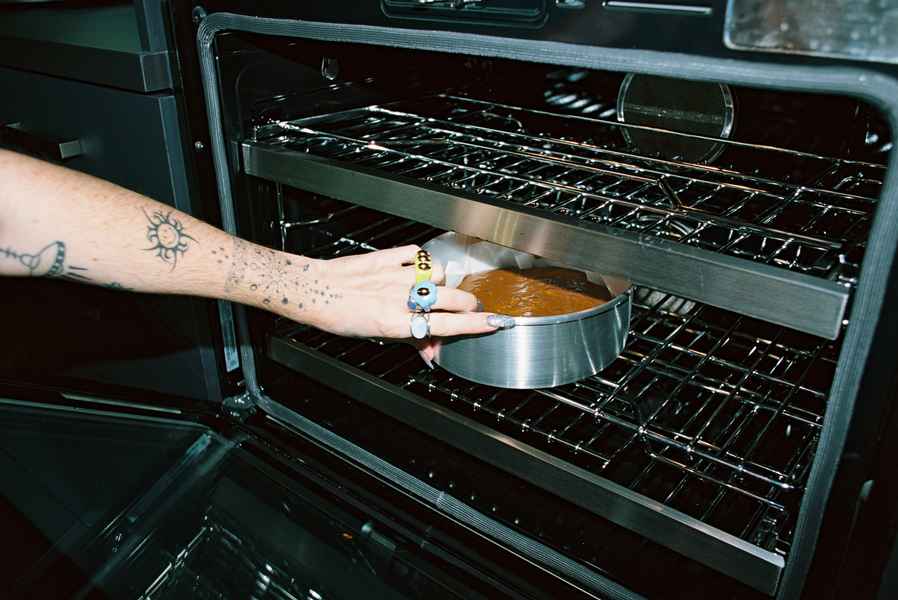
Preheat the oven to 180°C /350°F fan bake and press the non-stick liner into an 8"/20cm circle cake pan (the liner is intentionally oversized so you will end up with The Caker's signature ripples in the sides of the cake).
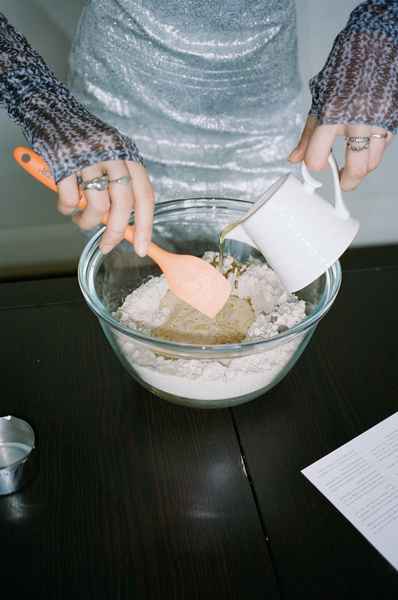
In a bowl, combine the Cake Mix with 1 cup of milk and ½ cup of oil or melted butter. Don’t overmix!
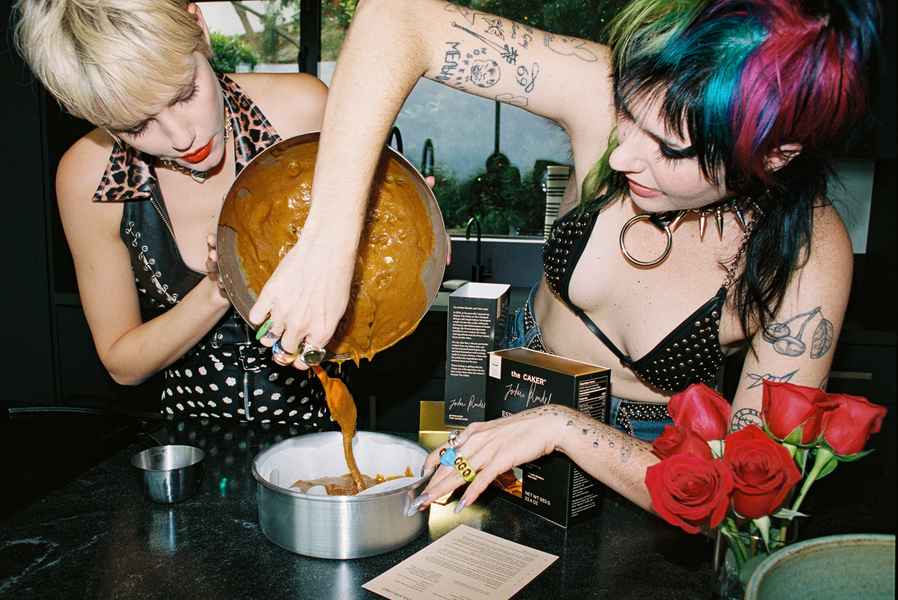
Pour the batter into the prepared cake pan and spread it out to the sides.
Bake the cake for around 40-50 minutes. Every oven is different, so keep an eye on the cake as it bakes, it will be ready when it is springy to the touch and a knife comes out clean.
Once baked, allow the cake to sit for 10 minutes in the pan, then turn it out onto a cooling rack and leave to cool in the fridge.
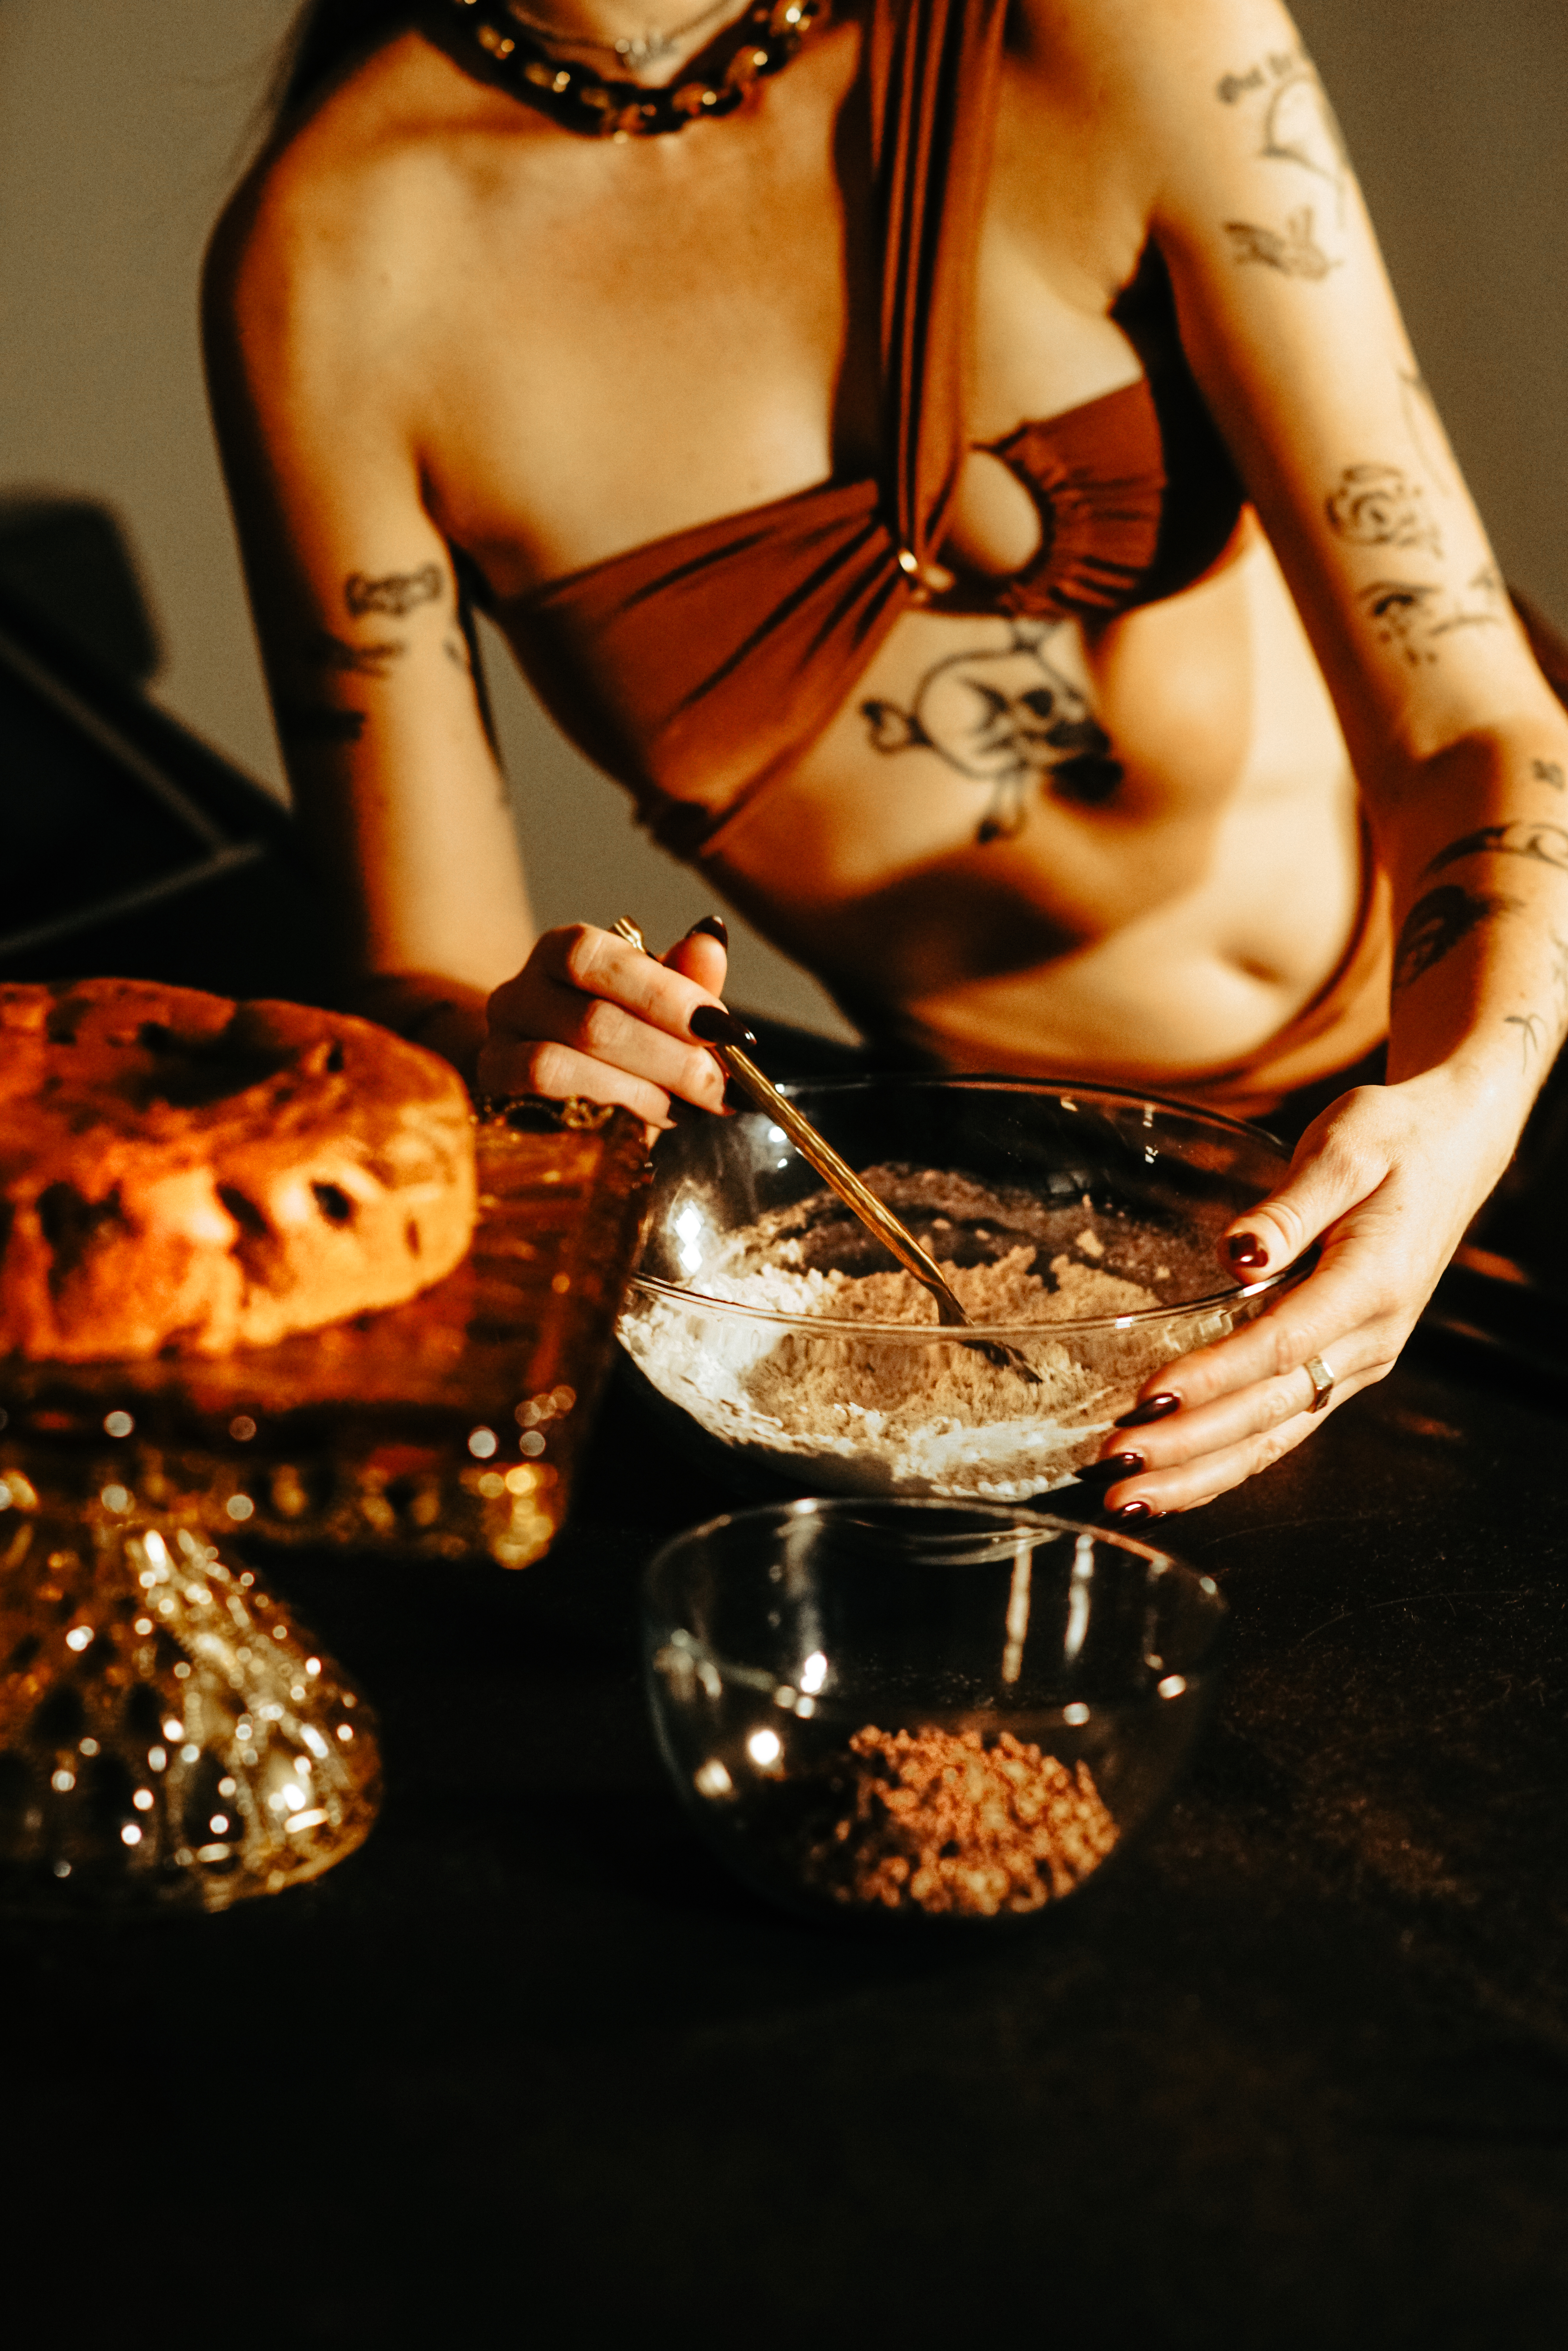
To make a glaze in a small bowl combine the Espresso Icing Mix with 1 tablespoon plus 1 teaspoon of milk and mix until smooth To make a buttercream using an electric mixer, beat the Espresso Icing Mix with 150g = 1 ⅓ sticks of room temp butter on high speed until smooth and fluffy.
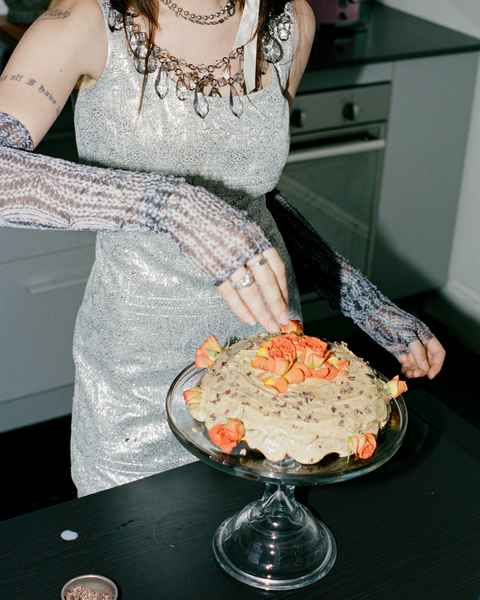
Once the cake is completely cool, spread the icing onto the cake and sprinkle over the Cocoa Nib Decorations. Top with fresh edible flowers if desired!
Serve at room temperature. To store, refrigerate in an airtight container for up to 3 days.
TOP TIPS TO REMEMBER
This cake is super easy to make, the main things to remember when making it are: -preheat your oven! -don’t mix the batter too much (especially if you are using an electric mixer) -make sure your cake is properly cool before you ice it
WHAT IS THE BEST SIZE PAN TO USE?
Using an 8” pan is really important, otherwise your cake might be too tall and be difficult to cook through, or too flat and resemble a pancake. I’ve sourced a cake pan, which is the perfect dimensions and thickness to ensure your cake bakes perfectly so be sure to add it to your cart before you check out.
WHAT IS THE BEST OIL TO USE?
Always use a light, neutral tasting oil in your cakes such as canola, sunflower, rice bran or grapeseed.
SHOULD I USE SALTED OR UNSALTED BUTTER?
We would recommend using unsalted butter, as there is already salt in the cake mix. In saying this, salted butter will work fine if that is all you have at home.
WHAT IS THE BEST MILK TO USE?
Feel free to use any unsweetened milk you like! Some dairy free alternatives that work well are nut milks, oat milk and soy milk. Coconut milk can also be used, but is very high in fat (which can affect the cake), I would suggest combining equal parts coconut milk and water and then measuring for your recipe.
WHAT SHOULD MY BATTER LOOK LIKE?
Your batter should be thick as opposed to runny.
WHAT IS OVERMIXING?
When incorporating your wet and dry ingredients together be sure to use a gentle folding motion and stop as soon as your cake batter has come together. Any stirring after this point would be classed as overmixing. Overmixing your cake develops the gluten in your batter, giving it an unpleasant, doughy mouth feel.
HOW DO I KNOW WHEN IT'S BAKED?
Your cake is ready when a sharp knife or skewer inserted into the center comes out clean. The reason we recommend checking cakes regularly after the halfway point is that you want to catch the cake at the moment it is baked to perfection, especially considering a cake will continue to cook for a few minutes after it has been removed from the oven. Your cake should rise slightly and have a flat, matte surface.
WHAT TEXTURE SHOULD MY BAKED CAKE BE?
Your cake should be tender, dense and bordering on brownie-like. My cakes all have a sumptuous, close-crumb texture due to the high amount of ground almonds in the recipe!
WHAT SHOULD MY GLAZE LOOK LIKE?
Your glaze should be thick yet soft enough to spread. If your glaze is not spreadable, you can add extra liquid ¼ tsp at a time until the desired consistency is achieved. If your glaze is too runny, you can add extra icing sugar 1 tsp at a time until the desired consistency is achieved.
HOW TO TURN THIS KIT INTO A TIRAMISU DESSERT
See our instruction video here!
A FUN ADDITION
This cake tastes great with some chopped roasted white chocolate stirred through and some roasted chopped hazelnuts scattered on top!
CAN I MAKE CUPCAKES?
You can make about 8 minicakes (large single serve cupcakes) or 30 babycakes (small 1-2 bite cupcakes) with this kit (just remember to reduce the bake time to 20-25 minutes). Here’s how…
Prepare your cake batter according to the recipe card provided.
Line a mini or babycake tray with enough cupcake papers for either size (babycakes are around 3.5cm diameter on their base, minicakes are around 6cm in diameter).
Fill each cupcake paper with your cake batter using a teaspoon. For either size make sure each paper is filled around ⅔ full.
Bake for around 20-30 minutes, or until springy to the touch. Every oven is different, so you may need to bake your babycakes for a shorter or longer time - keep an eye on them as they bake!
Allow your cupcakes to cool for 10 minutes in their tray, then take each out to cool on a cooling rack.
Prepare your icing as per the instructions on the recipe card.
Check that your cupcakes are completely cool, then, using a teaspoon, spread a small amount of glaze over each cake, enough to cover the top. If your glaze is looking a little runny, get your cupcakes into the fridge as soon as possible and leave for 15 minutes to allow the glaze to set.
Sprinkle your Cocoa Nib Decorations over your babycakes. Add fresh flowers for an extra Caker touch if desired.
HOW DO I MAKE A TIERED CAKE?
To make a mini 3-tiered cake with my cake kits, you’ll need two cake kits in your chosen flavour, a big bowl for all the batter as well as 1x 8”, 1x 6” and 1x 4” cake tins.
To make your mini 3-tiered cake you will be using two Caker cake kits and simply doubling the wet ingredients instructed. 1 cup of milk per the instructions becomes 2 cups of milk, ½ a cup of oil becomes 1 cup and so on.
SOME HANDY TIPS
Don’t forget to preheat the oven (180C/350F), this is such an important step.
For the largest pan, you need to use one of the parchment paper circles from the kits, the other two are provided with the pans (if you haven’t purchased my Mini Tiered Cake Bundle you will need to cut your own - trimming one from your second kit is nice and easy).
Prepare your batters in a single bowl according to the recipe card, remembering to use double the wet ingredients stated.
Once the cake batter is ready, the most important thing to get right is the amount of batter per pan such that all the cakes will come out with proportional heights. You want about 1”/2.5cm of batter in the 2 larger pans and ½”/just over 1cm in the smallest pan (add your fruit last if your kit requires it). If you add too much batter, just take some out with a spoon.
When the cakes go into the oven, set a timer for 20 minutes because that’s around the time that the 4” cake will be done. At 30 minutes the 6” cake should be done. At 45-50 minutes the 8” cake should be done.
If you want to make a buttercream, take both glaze sachets and use an electric mixer to combine them with 300g butter (regular or vegan) until super light, fluffy and smooth. If you’re making a Flourless Dark Chocolate tiered cake, my ganache recipe can be found here.
When assembling the cake, apply about half of the glaze/buttercream/ganache onto the centre of the largest cake and work your way slowly to the edges. I like to spin the cake at the same time as I spread the glaze/buttercream, but just do whatever feels comfortable. Make sure the middle layer is nice and centred before applying the glaze/buttercream - you’ll want to use just over half of what’s left for this layer, and the rest on the third layer.
You won’t need all of the freeze-dried fruit decorations, so use what’s left for another occasion! Add Fresh Flowers for an extra Caker touch if desired.
WHEN WILL MY ORDER SHIP?
We do our best to process all orders within 48 hours of receiving them, and you can expect your order to arrive within 3-5 business days!
DO YOU OFFER EXPEDITED SHIPPING?
Not at the moment but if you need a cake kit or book in a pinch, email us at orders@thecaker.co.nz and we can give you an estimated shipping time or suggest some local stockists for you to find our products with.
DO YOU OFFER INTERNATIONAL SHIPPING?
Yes we do! However the price depends on where. If you don’t see your country listed in the options at checkout, email kits@thecaker.co.nz with your address and what you’d like to order and we will send through a quote.
HOW WILL I KNOW MY ORDER HAS SHIPPED?
You’ll receive a notification from our shipping provider with tracking details once your order is on its way. If you still haven’t been emailed after 5 business days (check your spam!), please email us at kits@thecaker.co.nz and we will follow up on your order.
CAN I SEND A GIFT DIRECTLY TO SOMEONE?
Yes! We do not include pricing on our packing slips so you can send all our products directly to loved ones as gifts! You can add a gift card with your purchase at the checkout. Our warehouse doesn’t allow us to offer gift wrapping though, sorry about that!
WHAT IS YOUR RETURN POLICY?
We don’t accept returns of cake kits because of the fact they are food, however we can offer a refund or replacement if there is something wrong with your order. If that’s the case, we are so sorry - please email us kits@thecaker.co.nz and we will respond as soon as possible with a course of action.
WHAT IF I ENTERED THE WRONG SHIPPING ADDRESS!
Email us immediately kits@thecaker.co.nz to see if it’s early enough for us to cancel your order with our warehouse and make a new one with the right address. We want you to have your cake as much as you want your cake, so of course if your order does end up going out and it’s returned to us, then we’ll resend it but we are not technically responsible for delayed, unclaimed, or returned orders due to incorrect or undeliverable addresses entered by the user. We hope you understand!
MY TRACKING INFO SAYS MY ORDER WAS DELIVERED, BUT I HAVEN'T RECEIVED ANYTHING. WHAT DO I DO?
Email us kits@thecaker.co.nz so we can look into it. Usually the carrier asks us to wait 21 days to see if there are any updates, and only then can we file a claim with the carrier, which is really annoying! If you need your order for a special occasion, then let us know and we’ll see what we can do!
MY TRACKING INFO HASN’T BEEN UPDATED IN A LONG TIME... WHAT DO I DO?
Email us kits@thecaker.co.nz so we can look into it. If it’s the carrier’s fault, we’ll get a new order sent out to you and file a claim with the carrier.
CAN I PLACE A BULK ORDER FOR CORPORATE GIFTING
Absolutely! For bulk orders (which we can either send to one location or out to individual recipients on your behalf) email kits@thecaker.co.nz with your approximate quantities and we will get back to you with a quote.
WHAT IF I HAVE A QUESTION THAT IS NOT ADDRESSED ABOVE?
For all general cake kit enquiries email kits@thecaker.co.nz
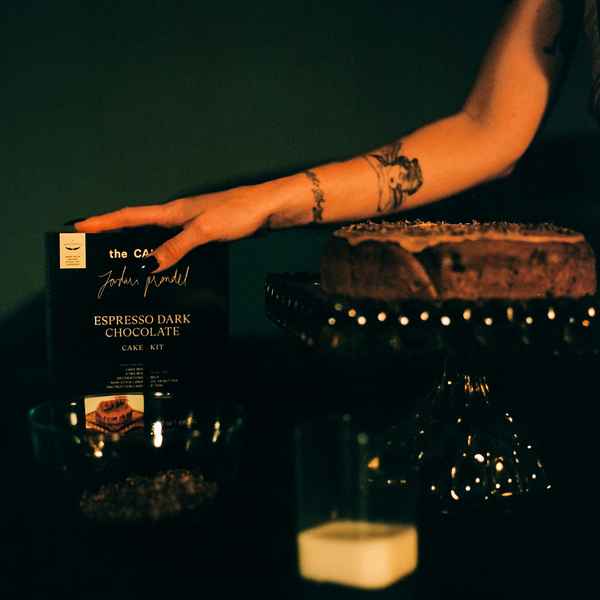
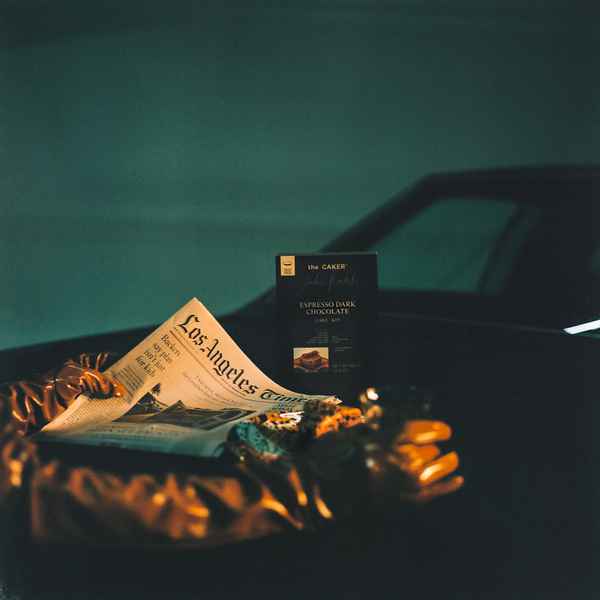
All you need to add to make this cake is 1 cup of milk and ½ cup of oil or melted butter. It contains an UNHOLY amount of Coffee Supreme Instant Coffee, made from beans sourced in the Yacuanquer region in Colombia. This one is for real coffee aficionados who aren’t afraid of caffeine. I added Callebaut dark chocolate callets to the cake and chose cocoa nibs as the decorations - because the cake really doesn’t need anything more than a nice crunch to round off each bite.
Standard
Large
25 Baby Cakes
9 Minis
2-Tiered


Fresh ingredients you will need
For the cake:
For the icing:
Directions
Preheat the oven to 180°C /350°F fan bake and press the non-stick liner into an 8"/20cm circle cake pan (the liner is intentionally oversized so you will end up with The Caker's signature ripples in the sides of the cake).
In a bowl, combine the Cake Mix with 1 cup of milk and ½ cup of oil or melted butter. Don’t overmix!
Pour the batter into the prepared cake pan and spread it out to the sides.
Bake the cake for around 40-50 minutes. Every oven is different, so keep an eye on the cake as it bakes, it will be ready when it is springy to the touch and a knife comes out clean.
Once baked, allow the cake to sit for 10 minutes in the pan, then turn it out onto a cooling rack and leave to cool in the fridge.
To make a glaze in a small bowl combine the Espresso Icing Mix with 1 tablespoon plus 1 teaspoon of milk and mix until smooth To make a buttercream using an electric mixer, beat the Espresso Icing Mix with 150g = 1 ⅓ sticks of room temp butter on high speed until smooth and fluffy.
Once the cake is completely cool, spread the icing onto the cake and sprinkle over the Cocoa Nib Decorations. Top with fresh edible flowers if desired!
Serve at room temperature. To store, refrigerate in an airtight container for up to 3 days.
TOP TIPS TO REMEMBER
This cake is super easy to make, the main things to remember when making it are: -preheat your oven! -don’t mix the batter too much (especially if you are using an electric mixer) -make sure your cake is properly cool before you ice it
WHAT IS THE BEST SIZE PAN TO USE?
Using an 8” pan is really important, otherwise your cake might be too tall and be difficult to cook through, or too flat and resemble a pancake. I’ve sourced a cake pan, which is the perfect dimensions and thickness to ensure your cake bakes perfectly so be sure to add it to your cart before you check out.
WHAT IS THE BEST OIL TO USE?
Always use a light, neutral tasting oil in your cakes such as canola, sunflower, rice bran or grapeseed.
SHOULD I USE SALTED OR UNSALTED BUTTER?
We would recommend using unsalted butter, as there is already salt in the cake mix. In saying this, salted butter will work fine if that is all you have at home.
WHAT IS THE BEST MILK TO USE?
Feel free to use any unsweetened milk you like! Some dairy free alternatives that work well are nut milks, oat milk and soy milk. Coconut milk can also be used, but is very high in fat (which can affect the cake), I would suggest combining equal parts coconut milk and water and then measuring for your recipe.
WHAT SHOULD MY BATTER LOOK LIKE?
Your batter should be thick as opposed to runny.
WHAT IS OVERMIXING?
When incorporating your wet and dry ingredients together be sure to use a gentle folding motion and stop as soon as your cake batter has come together. Any stirring after this point would be classed as overmixing. Overmixing your cake develops the gluten in your batter, giving it an unpleasant, doughy mouth feel.
HOW DO I KNOW WHEN IT'S BAKED?
Your cake is ready when a sharp knife or skewer inserted into the center comes out clean. The reason we recommend checking cakes regularly after the halfway point is that you want to catch the cake at the moment it is baked to perfection, especially considering a cake will continue to cook for a few minutes after it has been removed from the oven. Your cake should rise slightly and have a flat, matte surface.
WHAT TEXTURE SHOULD MY BAKED CAKE BE?
Your cake should be tender, dense and bordering on brownie-like. My cakes all have a sumptuous, close-crumb texture due to the high amount of ground almonds in the recipe!
WHAT SHOULD MY GLAZE LOOK LIKE?
Your glaze should be thick yet soft enough to spread. If your glaze is not spreadable, you can add extra liquid ¼ tsp at a time until the desired consistency is achieved. If your glaze is too runny, you can add extra icing sugar 1 tsp at a time until the desired consistency is achieved.
HOW TO TURN THIS KIT INTO A TIRAMISU DESSERT
See our instruction video here!
A FUN ADDITION
This cake tastes great with some chopped roasted white chocolate stirred through and some roasted chopped hazelnuts scattered on top!
CAN I MAKE CUPCAKES?
You can make about 8 minicakes (large single serve cupcakes) or 30 babycakes (small 1-2 bite cupcakes) with this kit (just remember to reduce the bake time to 20-25 minutes). Here’s how…
Prepare your cake batter according to the recipe card provided.
Line a mini or babycake tray with enough cupcake papers for either size (babycakes are around 3.5cm diameter on their base, minicakes are around 6cm in diameter).
Fill each cupcake paper with your cake batter using a teaspoon. For either size make sure each paper is filled around ⅔ full.
Bake for around 20-30 minutes, or until springy to the touch. Every oven is different, so you may need to bake your babycakes for a shorter or longer time - keep an eye on them as they bake!
Allow your cupcakes to cool for 10 minutes in their tray, then take each out to cool on a cooling rack.
Prepare your icing as per the instructions on the recipe card.
Check that your cupcakes are completely cool, then, using a teaspoon, spread a small amount of glaze over each cake, enough to cover the top. If your glaze is looking a little runny, get your cupcakes into the fridge as soon as possible and leave for 15 minutes to allow the glaze to set.
Sprinkle your Cocoa Nib Decorations over your babycakes. Add fresh flowers for an extra Caker touch if desired.
HOW DO I MAKE A TIERED CAKE?
To make a mini 3-tiered cake with my cake kits, you’ll need two cake kits in your chosen flavour, a big bowl for all the batter as well as 1x 8”, 1x 6” and 1x 4” cake tins.
To make your mini 3-tiered cake you will be using two Caker cake kits and simply doubling the wet ingredients instructed. 1 cup of milk per the instructions becomes 2 cups of milk, ½ a cup of oil becomes 1 cup and so on.
SOME HANDY TIPS
Don’t forget to preheat the oven (180C/350F), this is such an important step.
For the largest pan, you need to use one of the parchment paper circles from the kits, the other two are provided with the pans (if you haven’t purchased my Mini Tiered Cake Bundle you will need to cut your own - trimming one from your second kit is nice and easy).
Prepare your batters in a single bowl according to the recipe card, remembering to use double the wet ingredients stated.
Once the cake batter is ready, the most important thing to get right is the amount of batter per pan such that all the cakes will come out with proportional heights. You want about 1”/2.5cm of batter in the 2 larger pans and ½”/just over 1cm in the smallest pan (add your fruit last if your kit requires it). If you add too much batter, just take some out with a spoon.
When the cakes go into the oven, set a timer for 20 minutes because that’s around the time that the 4” cake will be done. At 30 minutes the 6” cake should be done. At 45-50 minutes the 8” cake should be done.
If you want to make a buttercream, take both glaze sachets and use an electric mixer to combine them with 300g butter (regular or vegan) until super light, fluffy and smooth. If you’re making a Flourless Dark Chocolate tiered cake, my ganache recipe can be found here.
When assembling the cake, apply about half of the glaze/buttercream/ganache onto the centre of the largest cake and work your way slowly to the edges. I like to spin the cake at the same time as I spread the glaze/buttercream, but just do whatever feels comfortable. Make sure the middle layer is nice and centred before applying the glaze/buttercream - you’ll want to use just over half of what’s left for this layer, and the rest on the third layer.
You won’t need all of the freeze-dried fruit decorations, so use what’s left for another occasion! Add Fresh Flowers for an extra Caker touch if desired.
These are not your typical cake mixes!
I chose some of my favourite recipes to turn into cake kits, and put all of the same quality ingredients I use on a daily basis inside of them, so you can bake like I do in the comfort of your own home.
They suit proficient and novice bakers alike, require basic equipment and come complete with decorations and a non-stick baking pan liner. Some are gluten-free, and some are vegan.
Upon making one, your house will fill with the unmistakably comforting aroma of a cake turning golden in the oven. And move over generic bottle of wine - these kits in their avant-garde packaging make a way cooler gift.
Enjoy!
x Jordan